Laser Detection


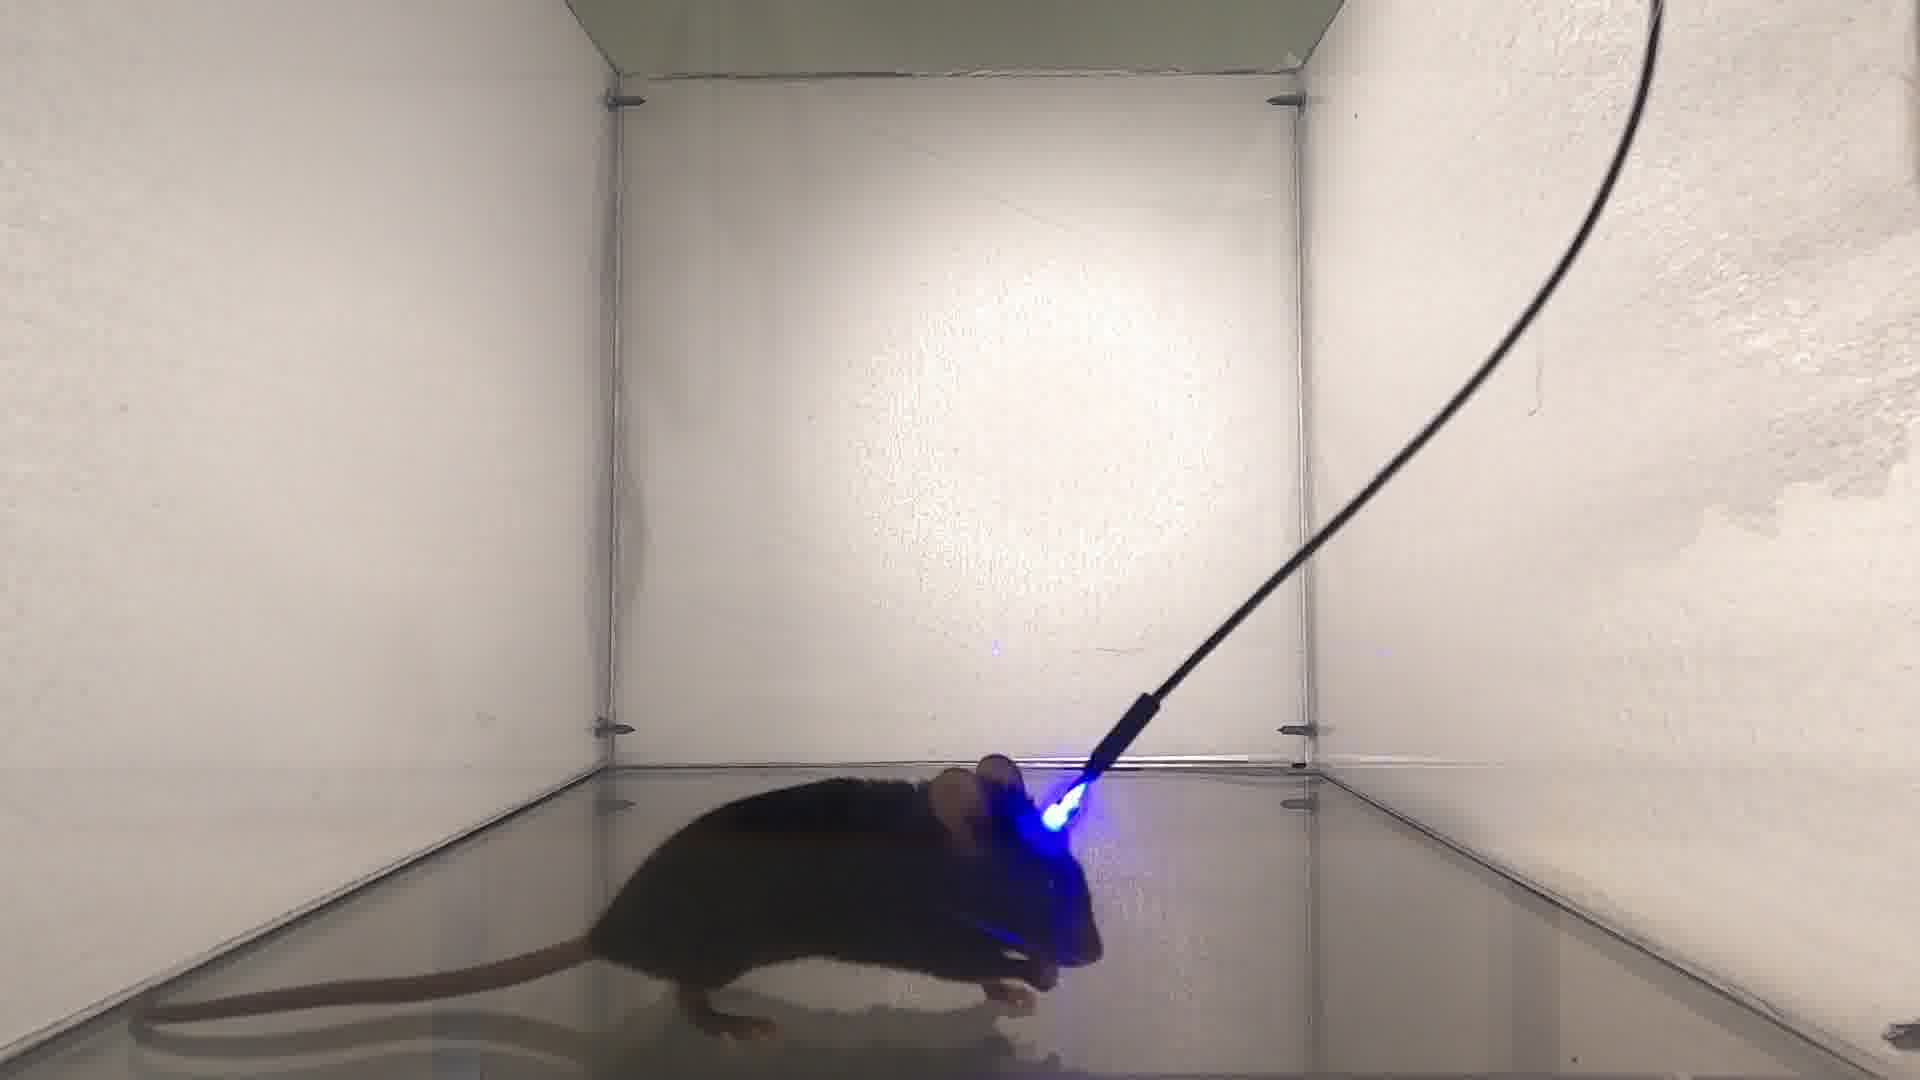
This a pipeline developed to detect laser pulses recieved at the implanted optic fibers on the rodent’s head. The detection is rather simple, you need to provide the a boundary for the laser light (RGB for color, or equivallently HSV), and either the number of pixels (or contours around regions of interest depending on the specified method) are detected. Then some preprocessing is performed yielding the frame numbers corresponding to start and ends for each pulse. This information is reported in a csv file saved in your project directory. All you need to do is to specify some parameters in the config file.
The steps you need to take for the analysis are the following:
Open terminal and run the
Laser_detection_run.py. You will see:$ Laser_detection_run.py Input project path:
Provide the path where you store your videos. It could be the root to all your videos, the program will find all the video files under this directory and will ask you if you wish to analyze all at once. However note that they will all be analyzed with the same configuration! If you wish to vary the config file you can break the video files down and analyze them separately.
After you input the path a meesage will pop up asking which type of experiment you want to analyze:
Input the number corresponding to your project:
         1. Treadmill
         2. Open field
When you enter the number, a config file is generated and you will see this message:
config file created at PATH_TO_YOUR_CONFIG/YOUR_FOLDER_NAME.yaml. You may adjust the parameters and resave.
Press ENTER if you wish to analyze all the video files in the project path directory, otherwise please input the path to a csv file containing the paths to your desired files.
At this point you can have a look and adjust parameters that you wish to modify from the default. Then by pressing
ENTERyou will have all the files analyzed consecutively. Alternatively if your files are scattered, you can create a csv file (with first line as header) putting all the video filepaths in the first column and input the path to this csv.Lastly, the pipeline will generate a folder named
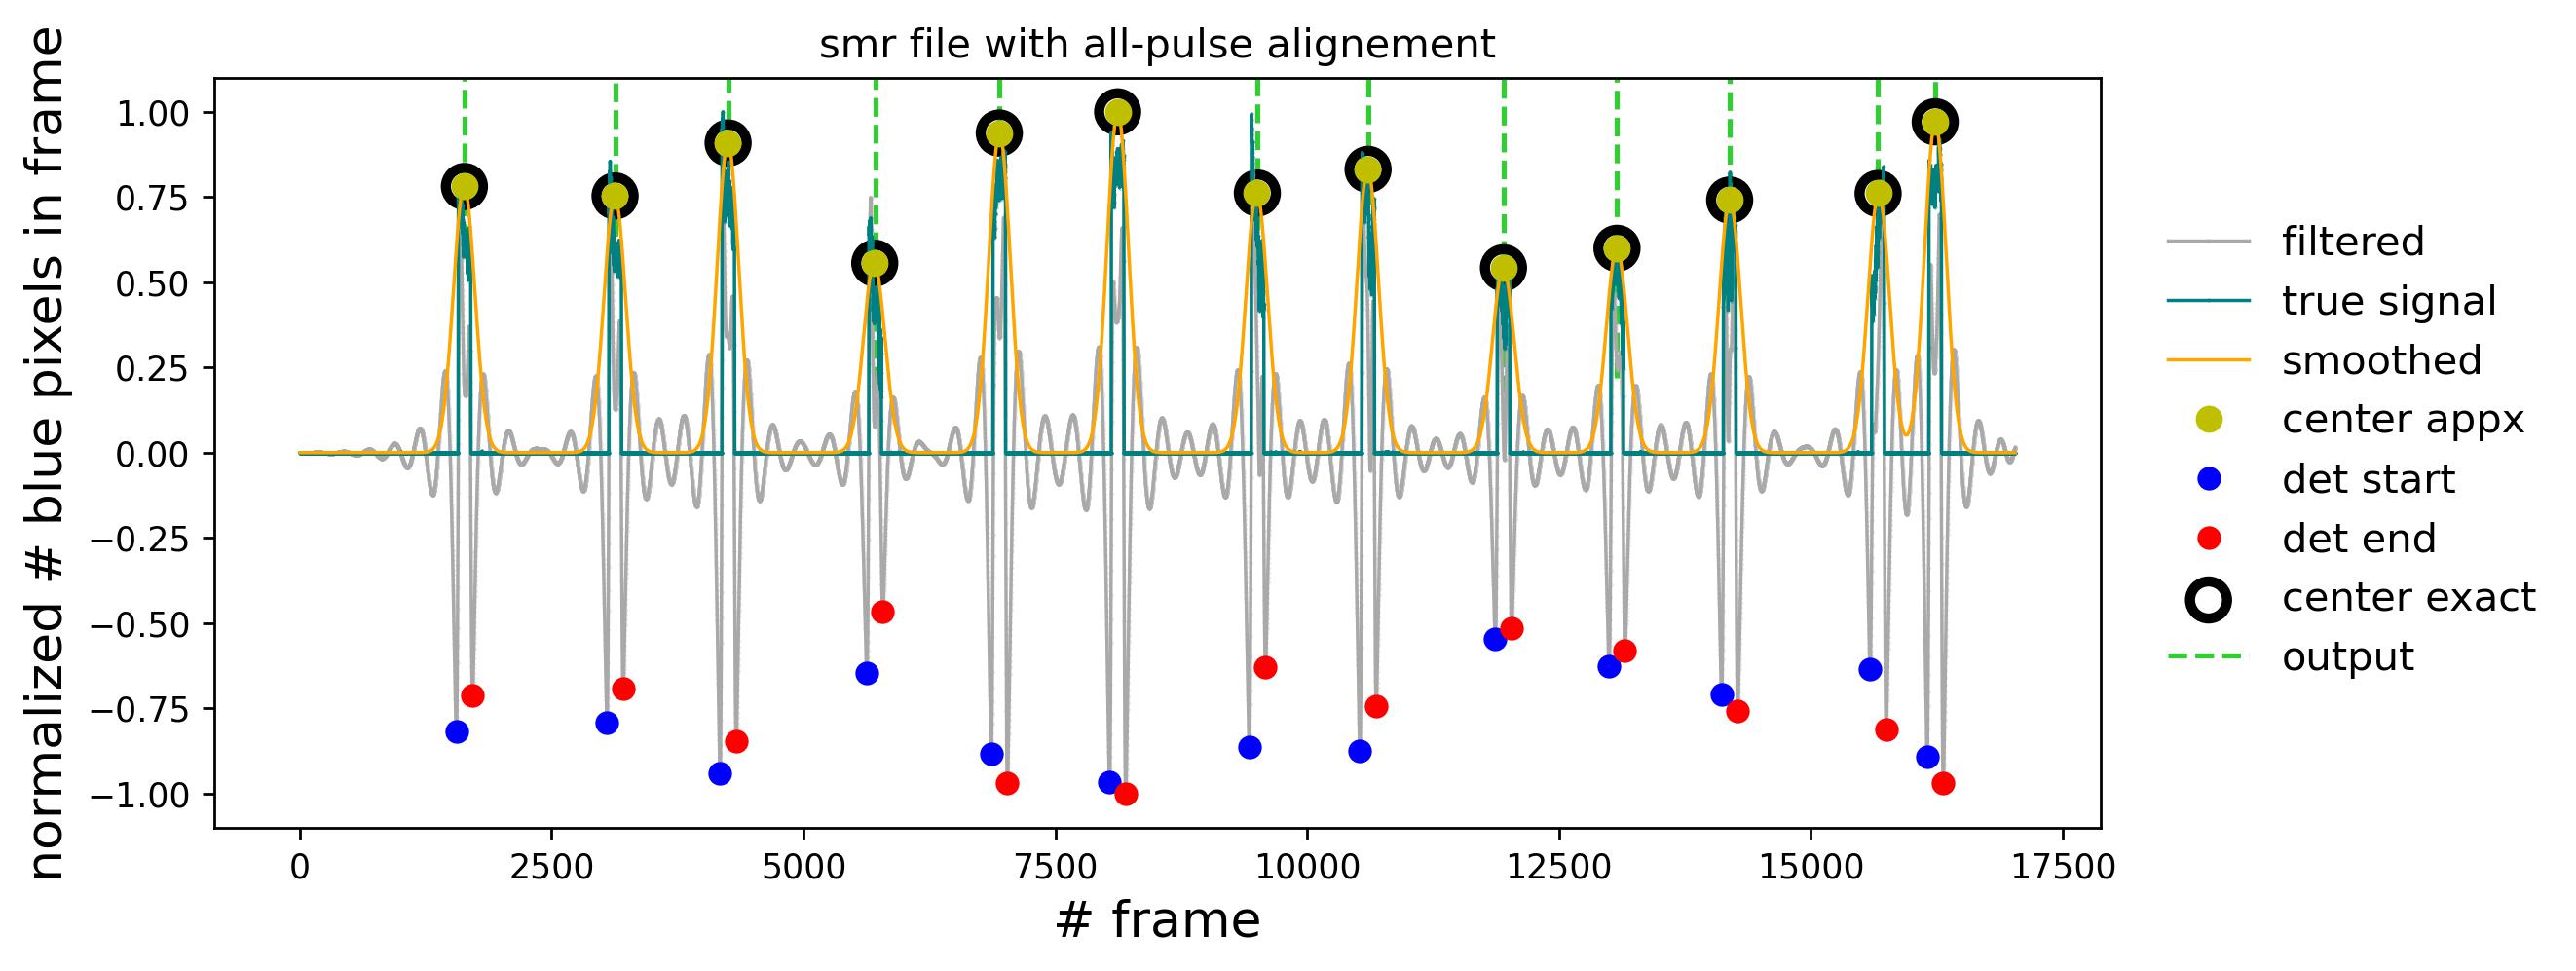
Laser(either at the same directory as your videos or if videos are contained in a “Video” folder, in that same parent folder). Where it will save the laser pulse stamps together with a snapshot of the detections (see the example below).
The summary of all the video files analyzed both successfully and unsuccesfully with be reported in two csv files at
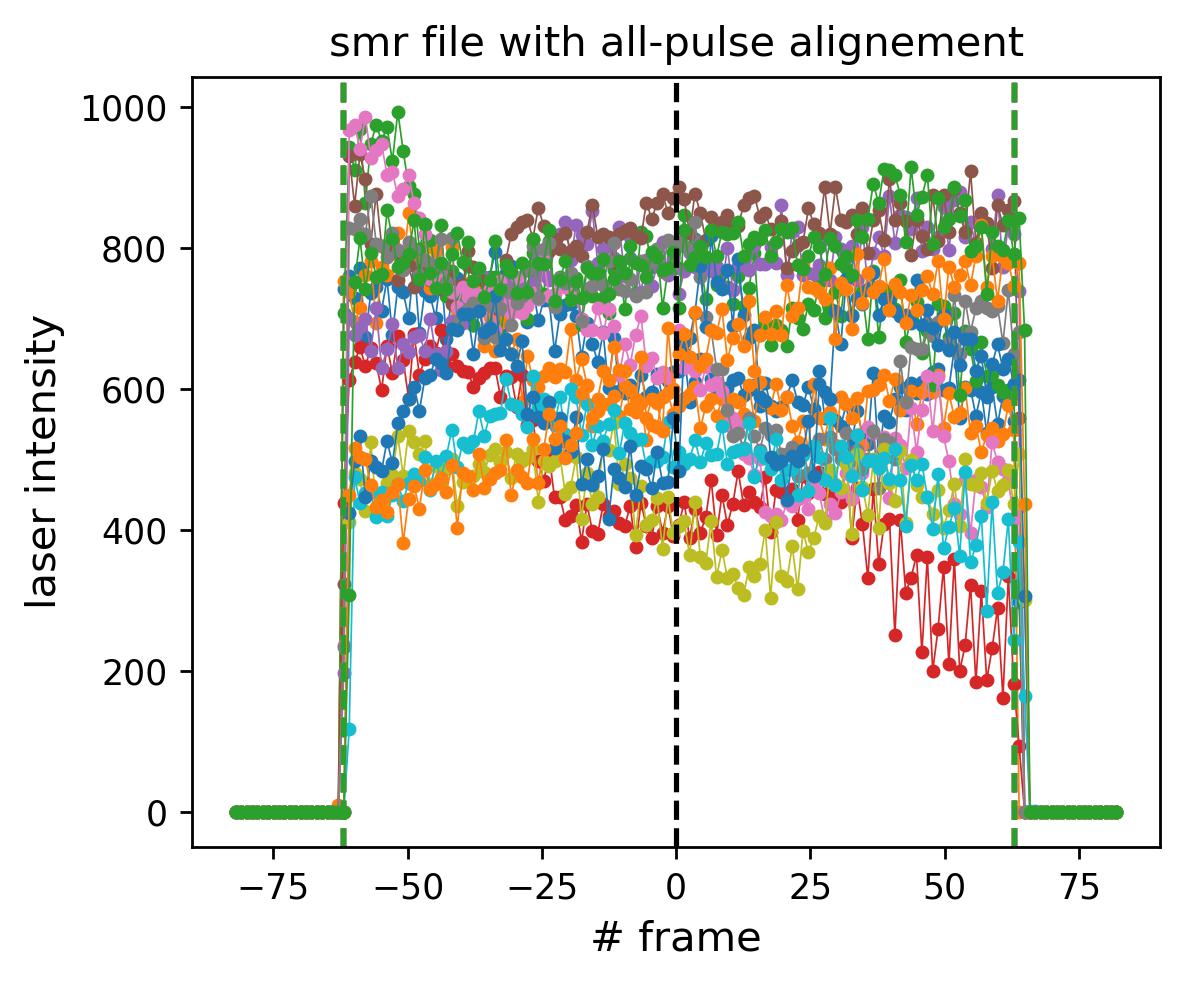
PATH_TO_YOUR_PROJECT/LASER_DETECTION. Where you can see the accuracy of detections. The files will be updated when you run the same project path recursively.You will also find the detected pulses all aligned to the pulse center under
PATH_TO_YOUR_PROJECT/LASER_DETECTION/JPEGwhere you can visually verify that the detections are sufficiently precise (or not!). Here’s an example of a square pulse: